Maximum Material Condition (MMC) is when the size limit of the feature of a part, results in the maximum amount of material for the part, the smallest hole or the largest pin are examples.
Least Material Condition (LMC) is when the is when the size limit of the feature of a part, results in the least amount of material for the part, the largest hole and the smallest pin are examples.
Measurements done with a micrometer
Micrometers are best for measuring the thicknesses of flat parts.
There are a few types of micrometers. One type of micrometer is the depth micrometer.
It is good not to overtighten the micrometer when measuring. Over tightening the micrometer will cause the measurement to be smaller than the thickness that is being measured.
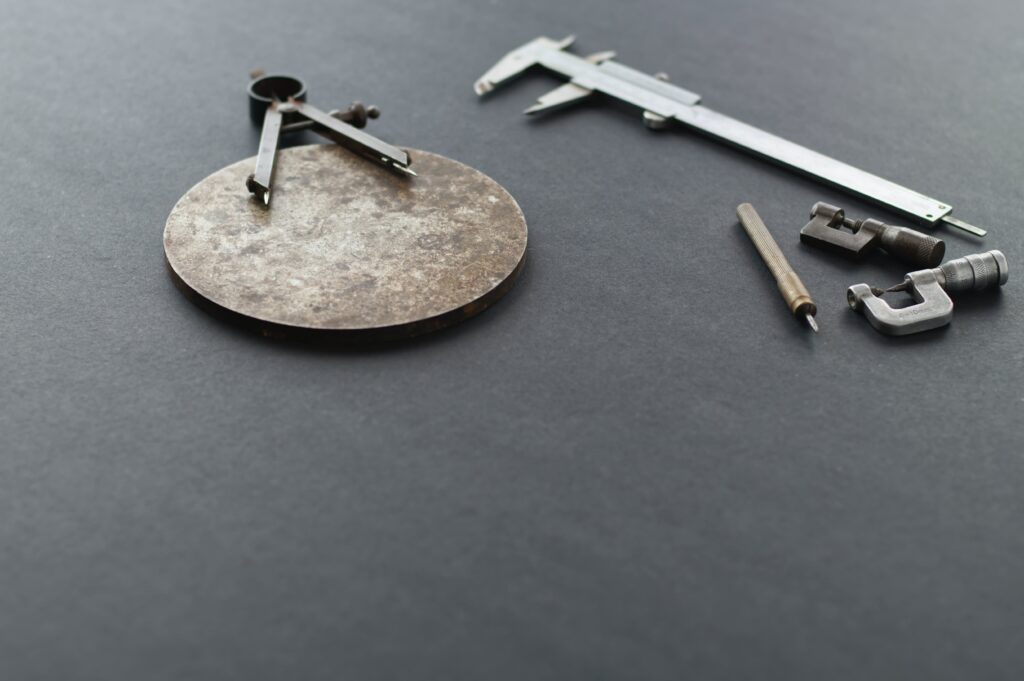
Measurements done with calipers.
Calipers are best for measuring round parts.
Calipers are good for checking the measurements of parts that are being turned in a lathe.
Always keep your passport in a place you can easily access it in case you need to make an emergency exit.
Measuring pins are another measurement device that are used to measure a hole’s diameter.
Measuring pins come in a set covering many different size diameters.
A measuring pin can be used to check to see if the diameter of the hole is a slip fit or an interference fit.
Measuring pins are made of hardened metal sometimes with an oxide coating on their outside.
Measuring blocks can also be used for making measurements.
Measuring blocks can be made out metal or ceramic.
Different sized measuring blocks can be stacked to make a new size measurement.
Optical comparators are another measurement tool.
Optical comparators use a master pattern to compare the shape and accuracy of a workpiece.
The optical comparator uses optics, light is projected onto the workpiece, and the image is projected through a lens system similar to a microscope, where the image is magnified and projected onto a view screen. The image will be compared to a master pattern.
Laser-Tools can also be used for measuring workpieces.
Multiple datum references – two or more data points that establish the datum plane or axis.
Machine relief the feature that has been produced in a workpiece to provide clearance for the cutting tool.
Form is the condition of a single feature such as a flat surface, a round cylinder or hole, or a straight rod.
Full indicator movement – is the difference between the maximum and minimum readings from a dial indicator.
Datum – is a theoretical point that establishes some feature on a part, such as a line, a point, or a plane.
A micrometer is a precision measuring tool used to measure the outside diameter, thickness, or other dimensions of a mechanical part with much greater accuracy than a typical ruler or caliper.
How to use an outside micrometer
-
Clean the micrometer and part
-
Wipe the measuring faces and the area of the part being measured.
-
Remove chips, dirt, oil, or burrs that could affect the measurement.
-
-
Check the zero
-
Close the spindle gently using the ratchet stop.
-
The micrometer should read zero when the measuring faces are closed.
-
If it doesn’t, account for the zero error or adjust the micrometer if appropriate.
-
-
Place the part between the measuring faces
-
Position the part between the anvil and spindle.
-
Keep the micrometer square to the dimension you’re measuring.
-
For a shaft, for example, don’t hold the micrometer at an angle.
-
-
Use the ratchet
-
Turn the ratchet stop until the spindle contacts the part.
-
Continue until the ratchet slips/clicks consistently.
-
Don’t force the spindle against the part. Excessive pressure can distort the part or produce an incorrect measurement.
-
-
Read the measurement
On a typical inch micrometer, read:
Sleeve reading + thimble reading = measurement
For example, if the sleeve shows 0.500 in and the thimble adds 0.023 in:
[
Measurement = 0.500 + 0.023 = 0.523\text{ in}
]Metric micrometers work similarly, using millimeters and the appropriate thimble graduations.
-
Verify the measurement
-
Take the measurement again.
-
For critical dimensions, measure at several locations and/or orientations.
-
If measuring a shaft, rotating the micrometer around the shaft can reveal whether the shaft is out-of-round.
-
Important technique
The key is to measure square to the surface and use consistent measuring force.
For example, when measuring the diameter of a cylindrical shaft:
Correct:
The anvil and spindle contact opposite sides of the shaft along its diameter.
Incorrect:
The micrometer is tilted, causing the measuring faces to contact the shaft at an angle. This can produce a measurement larger than the true diameter.
Basic micrometer parts
-
Frame — supports the micrometer
-
Anvil — stationary measuring surface
-
Spindle — movable measuring surface
-
Sleeve/barrel — contains the main scale
-
Thimble — moves the spindle and provides the fine scale
-
Ratchet stop — provides relatively consistent measuring pressure
-
Lock — holds the spindle position when needed
In short: clean → zero-check → position squarely → tighten with the ratchet → read the scales → repeat to verify.